Blog Layout

Step-by-Step Guide: How to Safely Replace a Flat Tire

Flat tires can strike at the most inconvenient times, but with proper preparation and knowledge, you can handle the situation confidently. At Precision Roadside Service, we’ve outlined essential tips, steps, and practices to help you replace your flat tire safely and get back on the road without stress.


Preventative Measures to Avoid Flat Tires


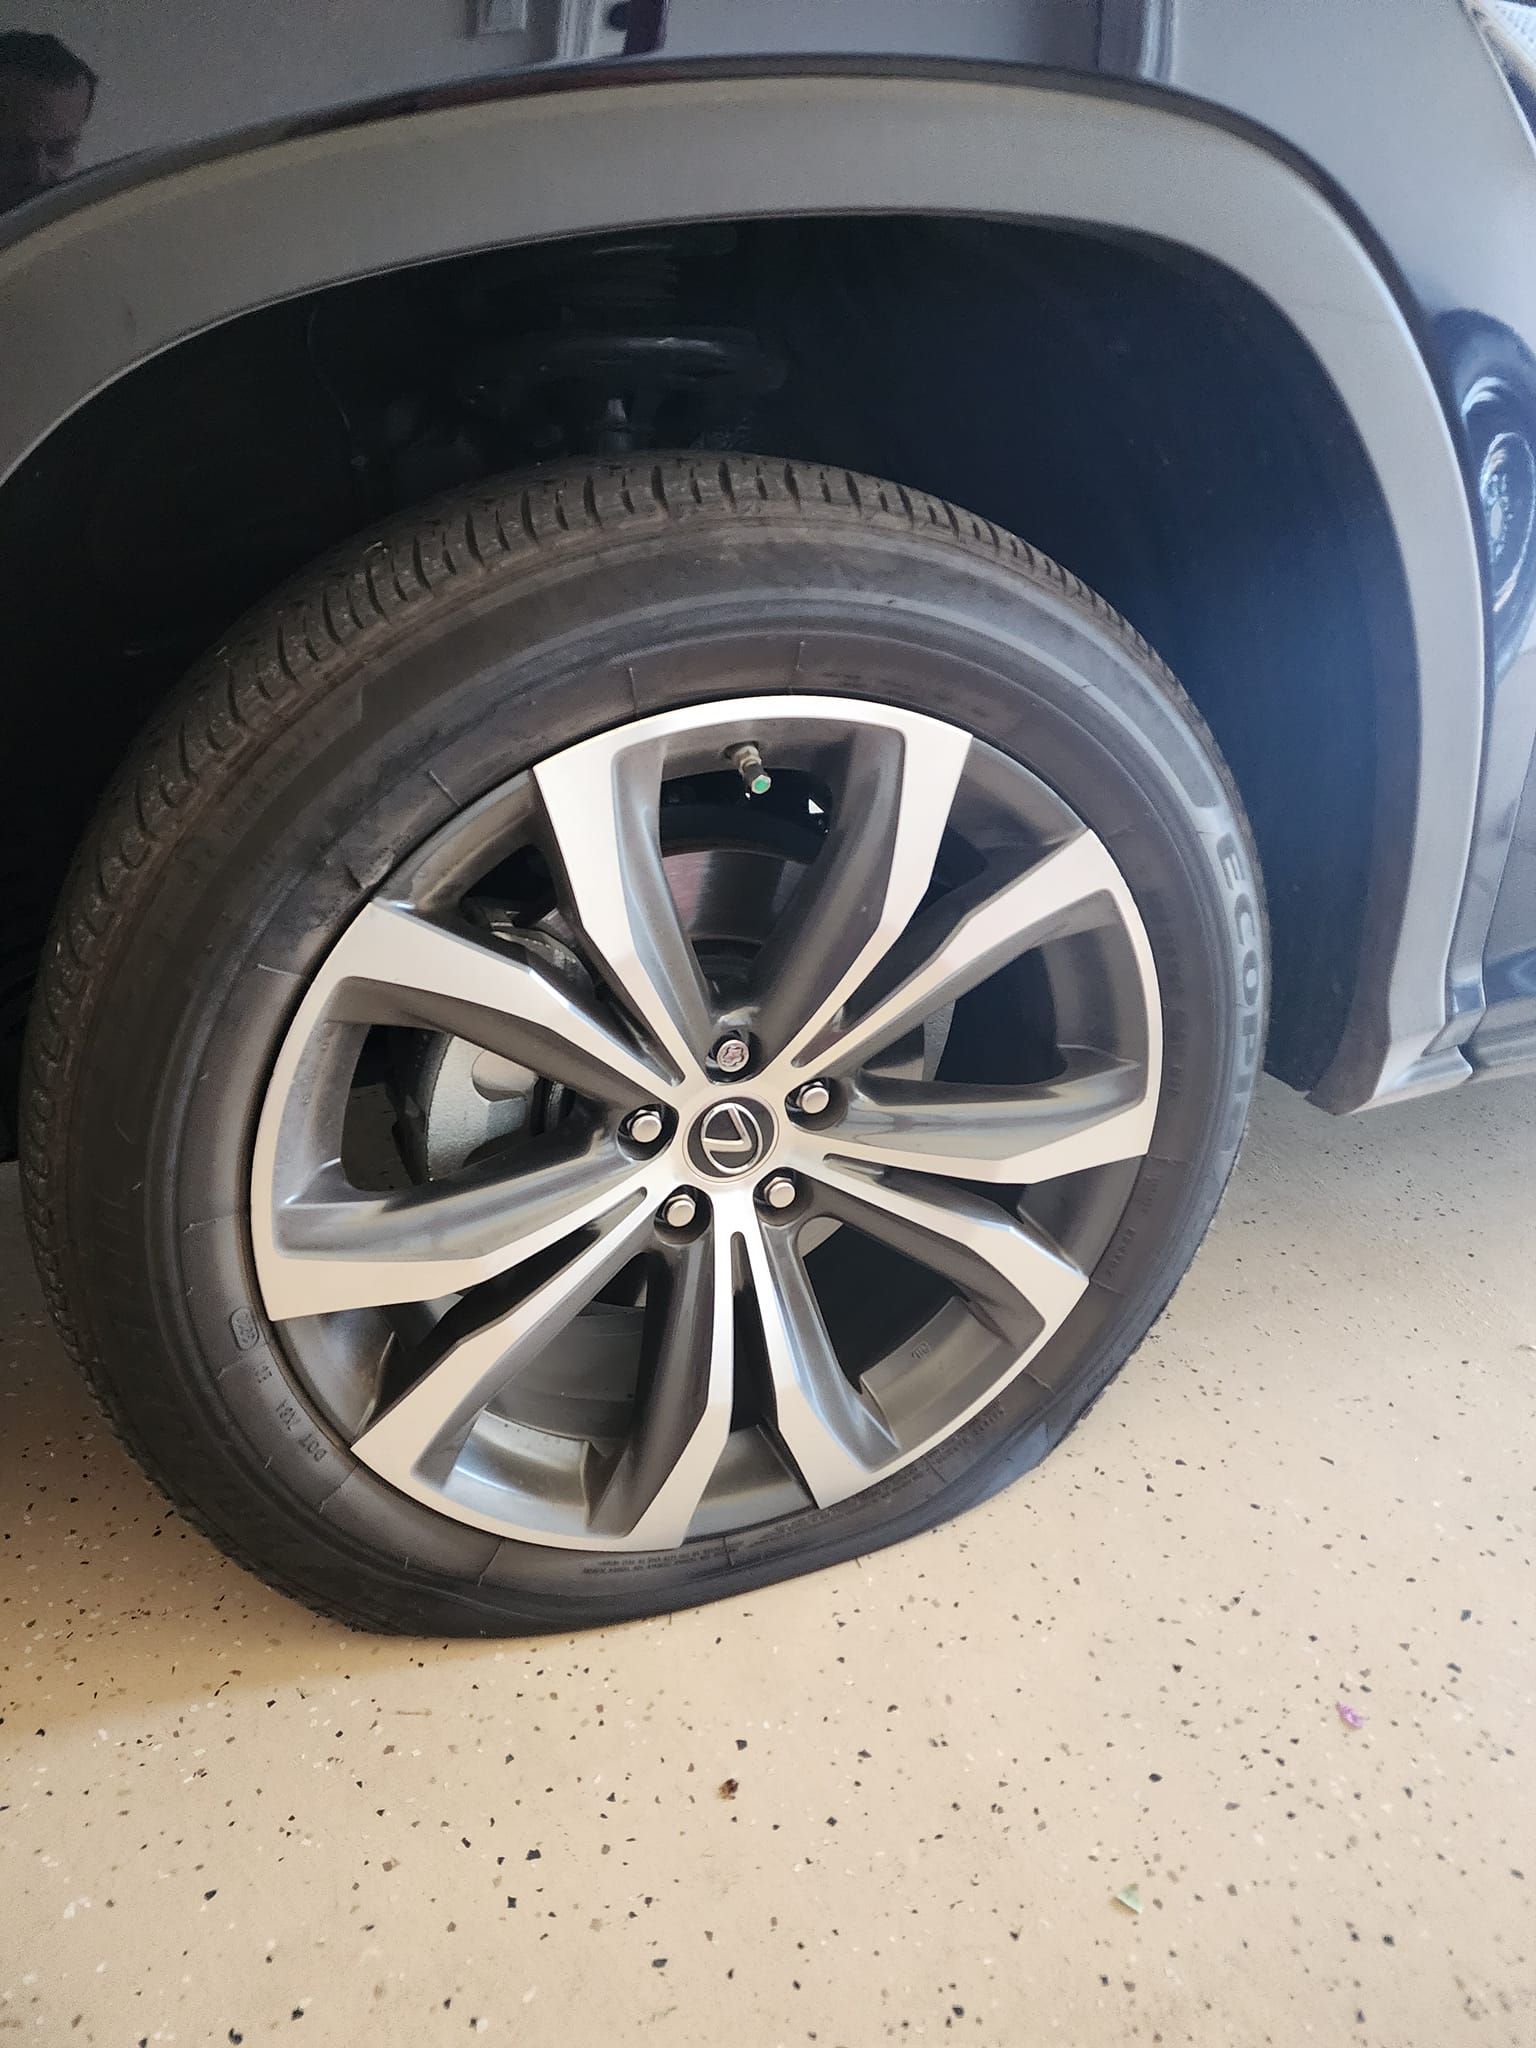
  1. Inspect Regularly: Perform a quick walkaround of your vehicle to check for sufficient tread and visible damage to the tires.
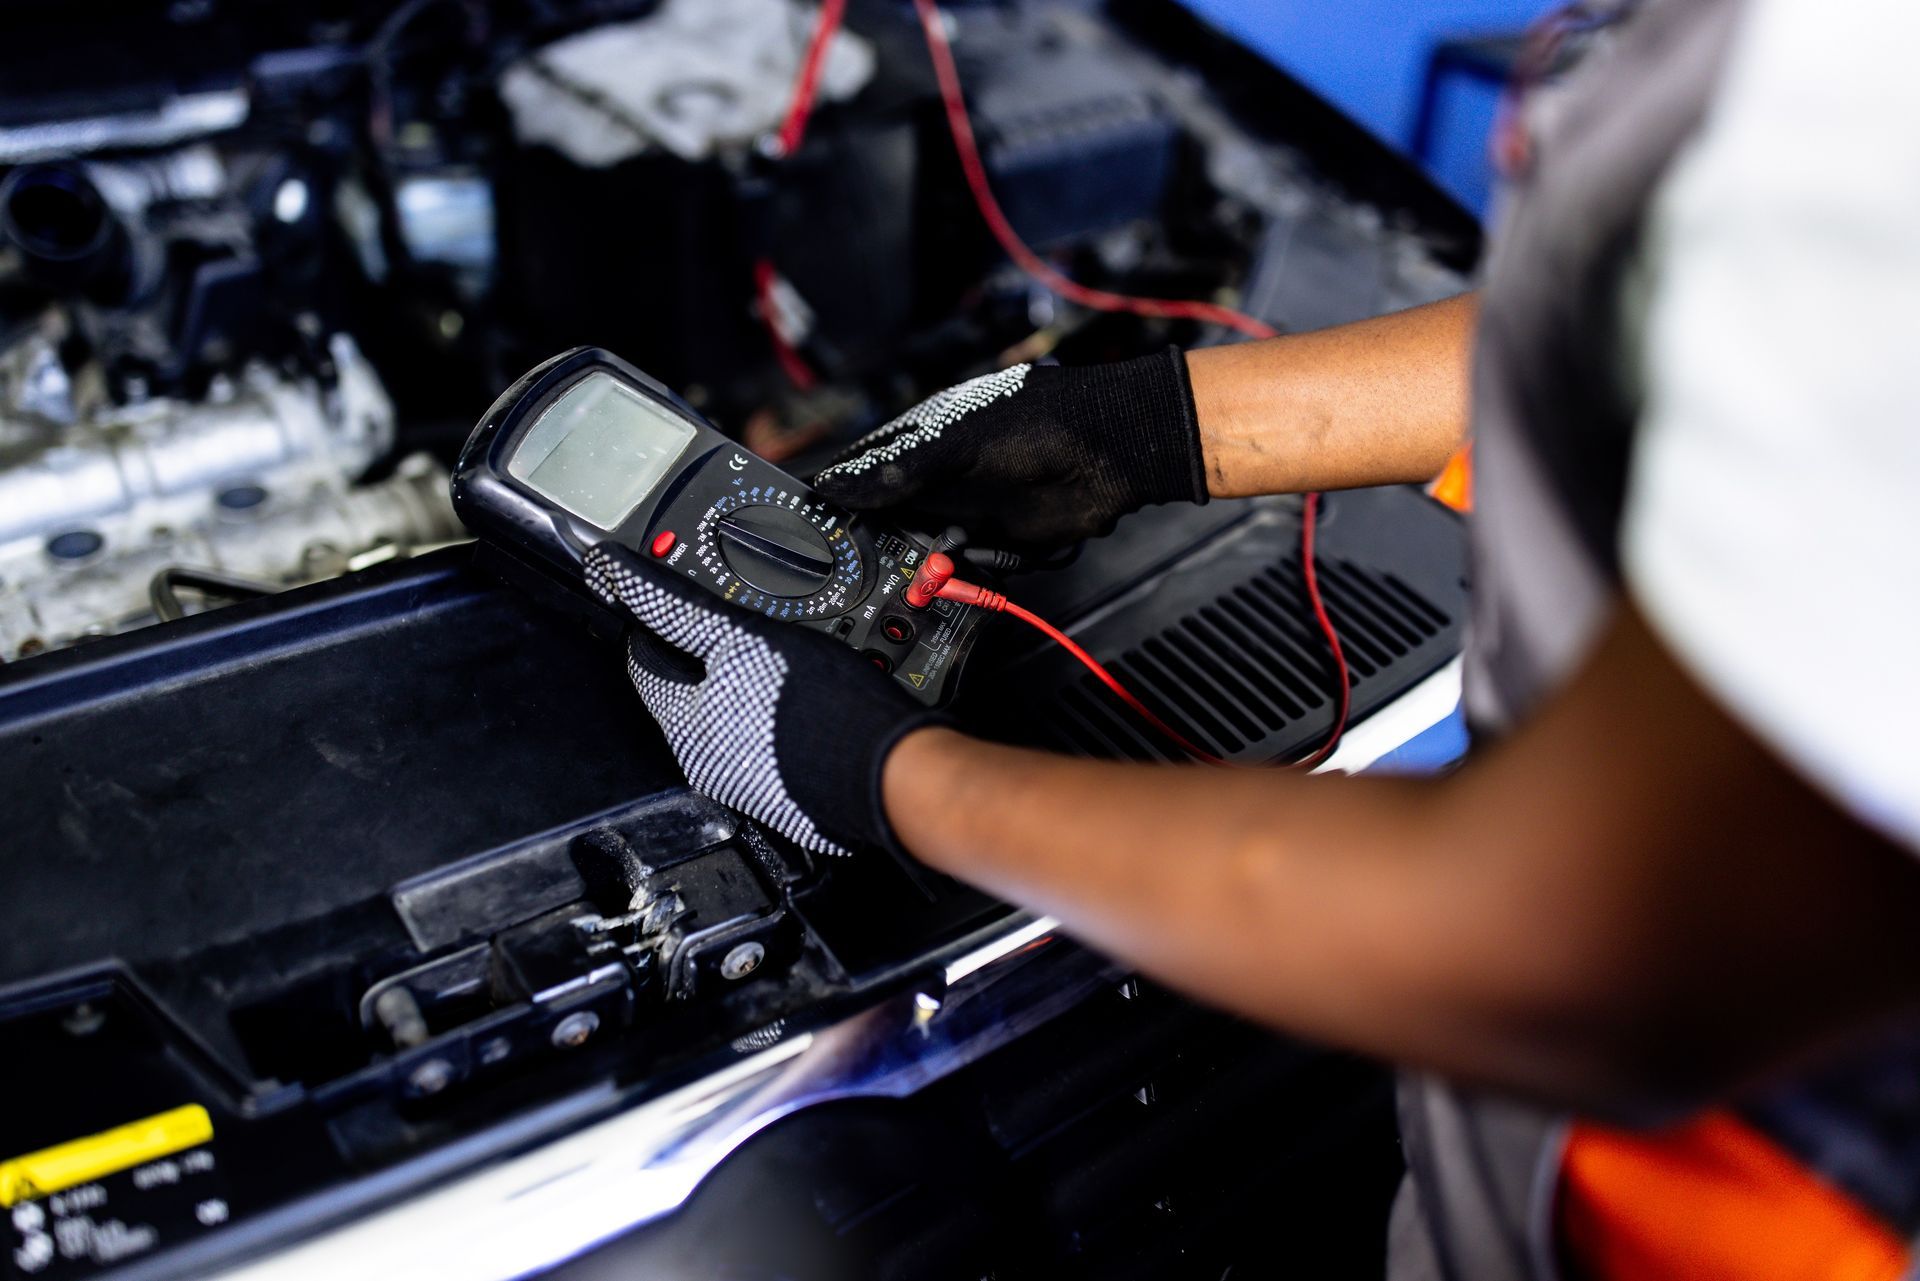
  2. Monitor Tire Pressure: Use a tire pressure gauge regularly to ensure your tires are inflated to the recommended levels.
  3. Be Alert for Warning Signs: Look out for cracks, bulges, or embedded debris, such as nails, which could lead to a flat tire.


Despite best efforts, flat tires can still happen due to blowouts or road hazards. If you’re faced with this situation, here’s a detailed guide to safely changing your flat tire:


Steps to Replace Your Flat Tire Safely
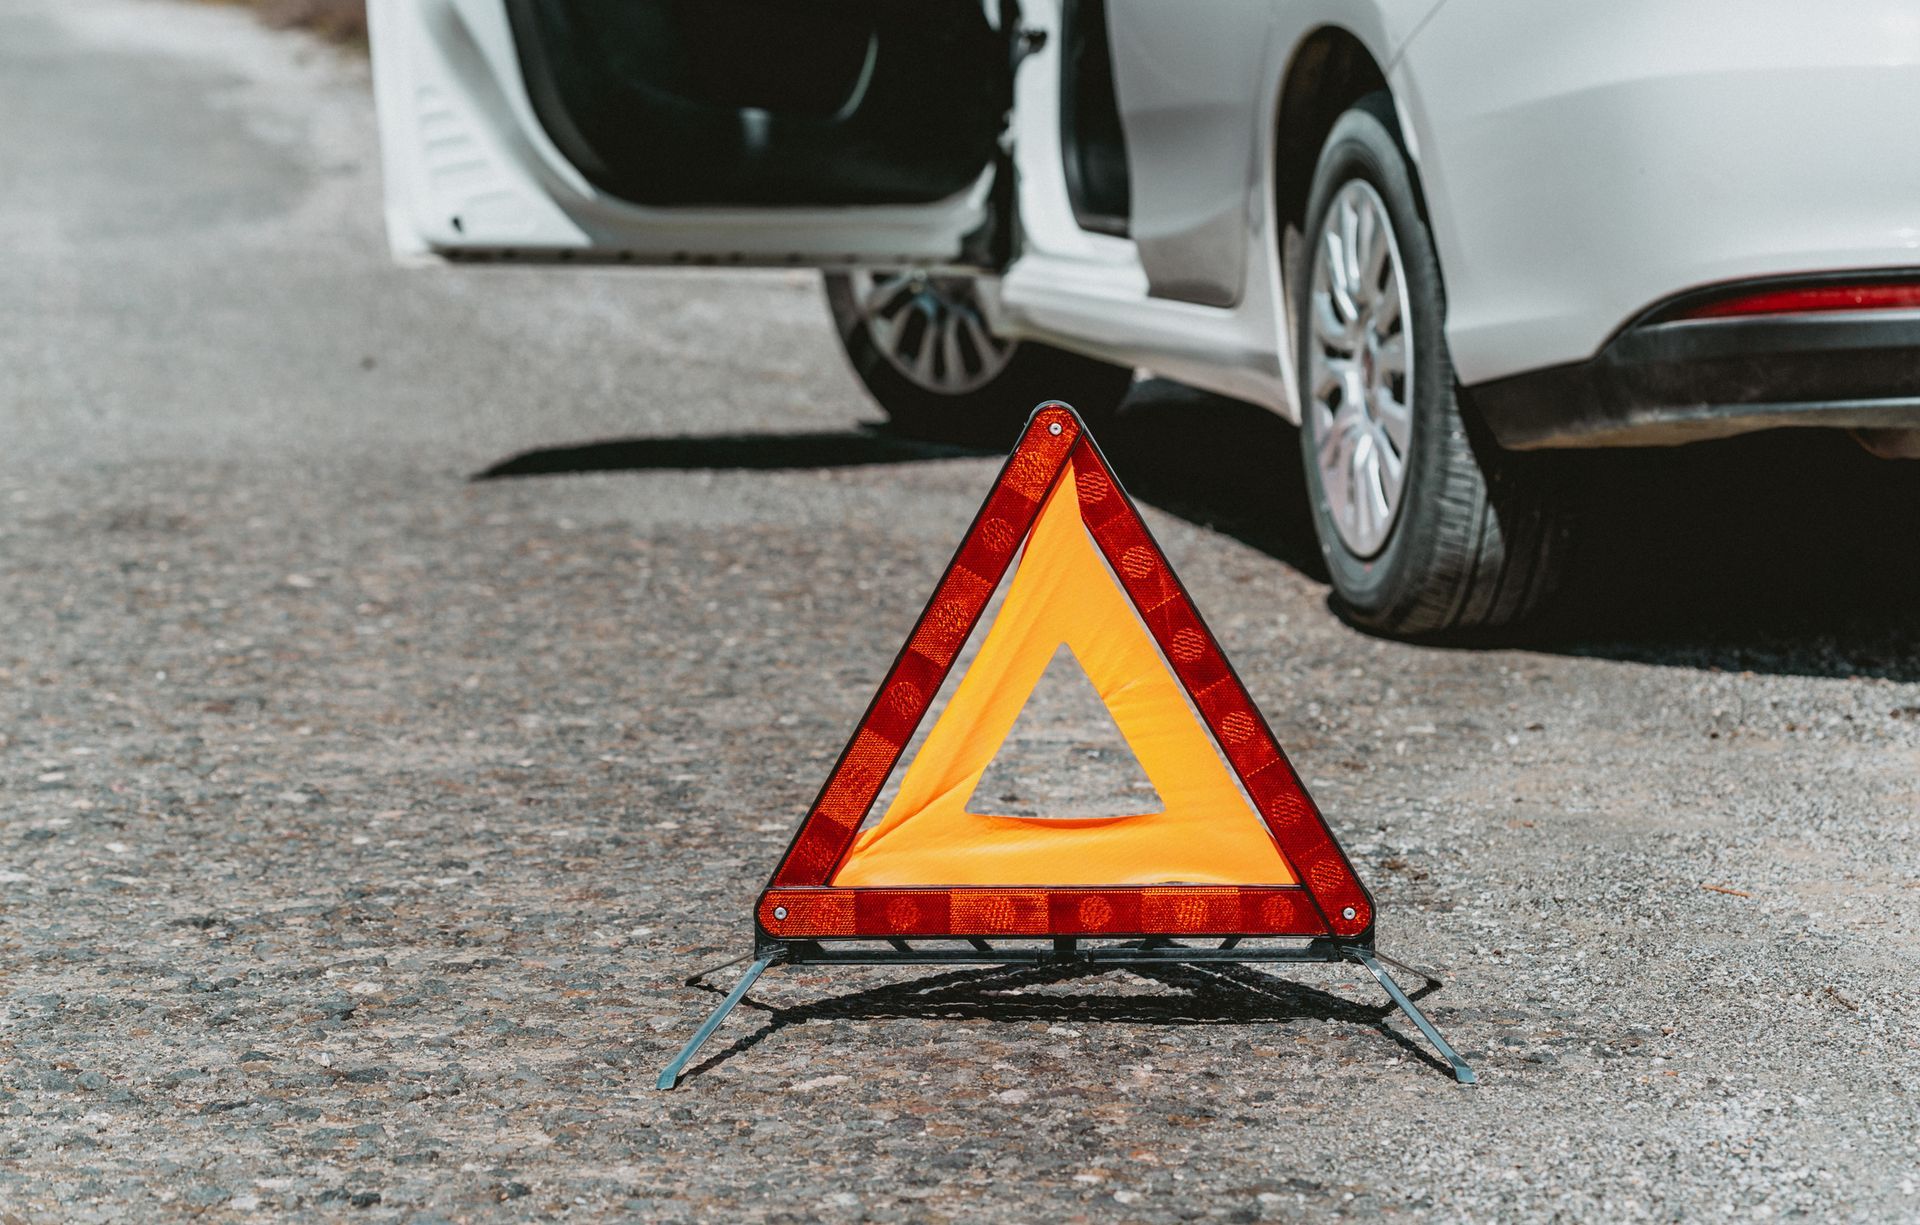
1. Safety First

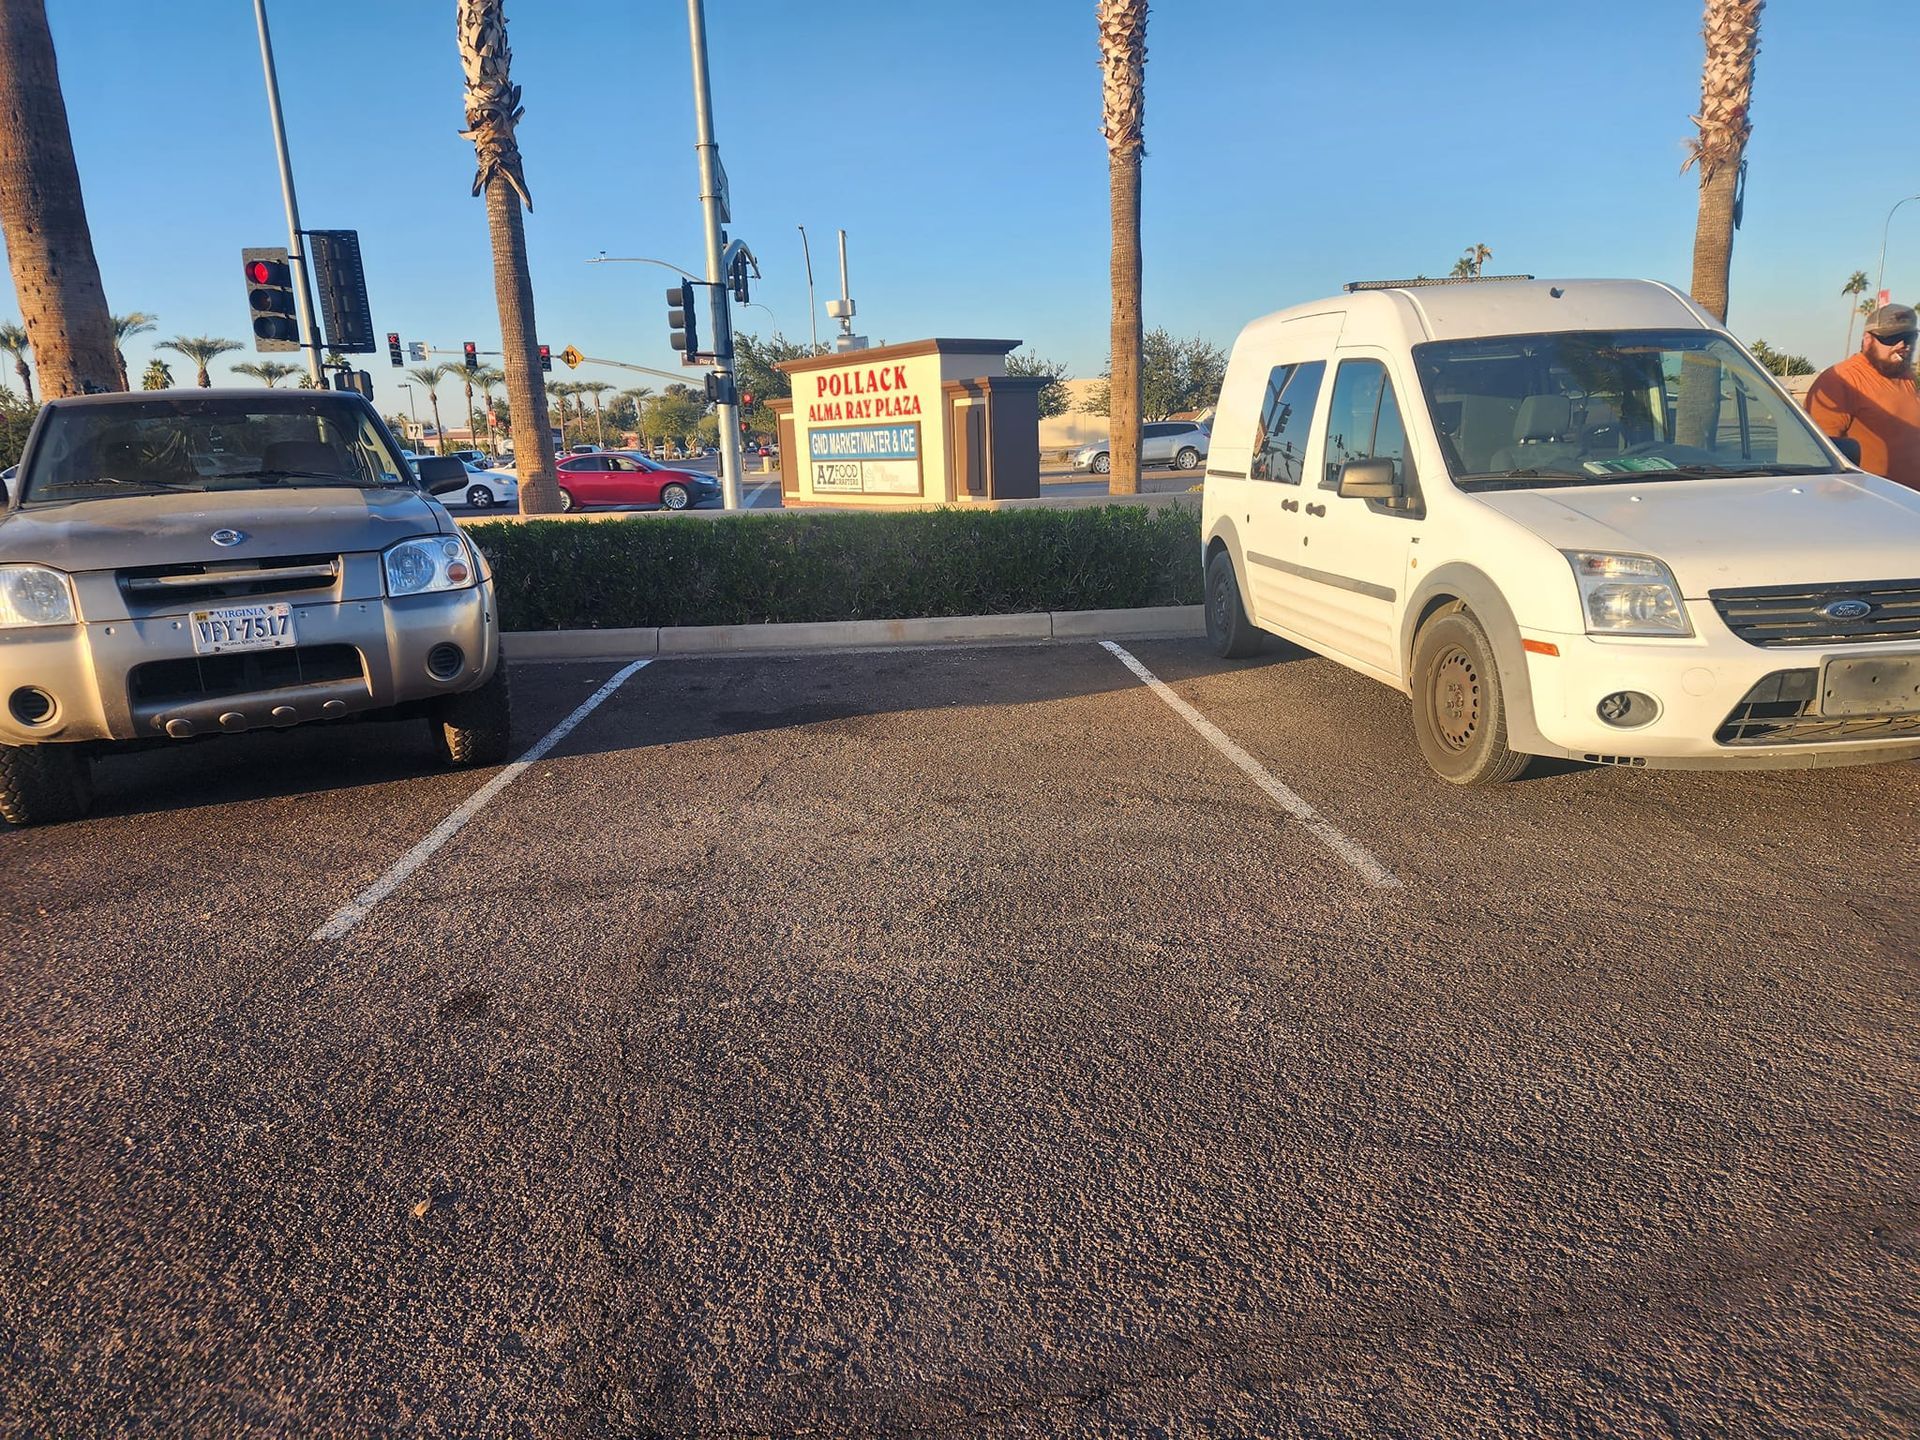
  • Pull over to a flat, stable surface away from traffic.
  • Activate your hazard lights.
  • Engage the parking brake to prevent rolling.

2. Prepare the Vehicle

  • Place wheel chocks behind the opposite tires to keep your car steady during the process.
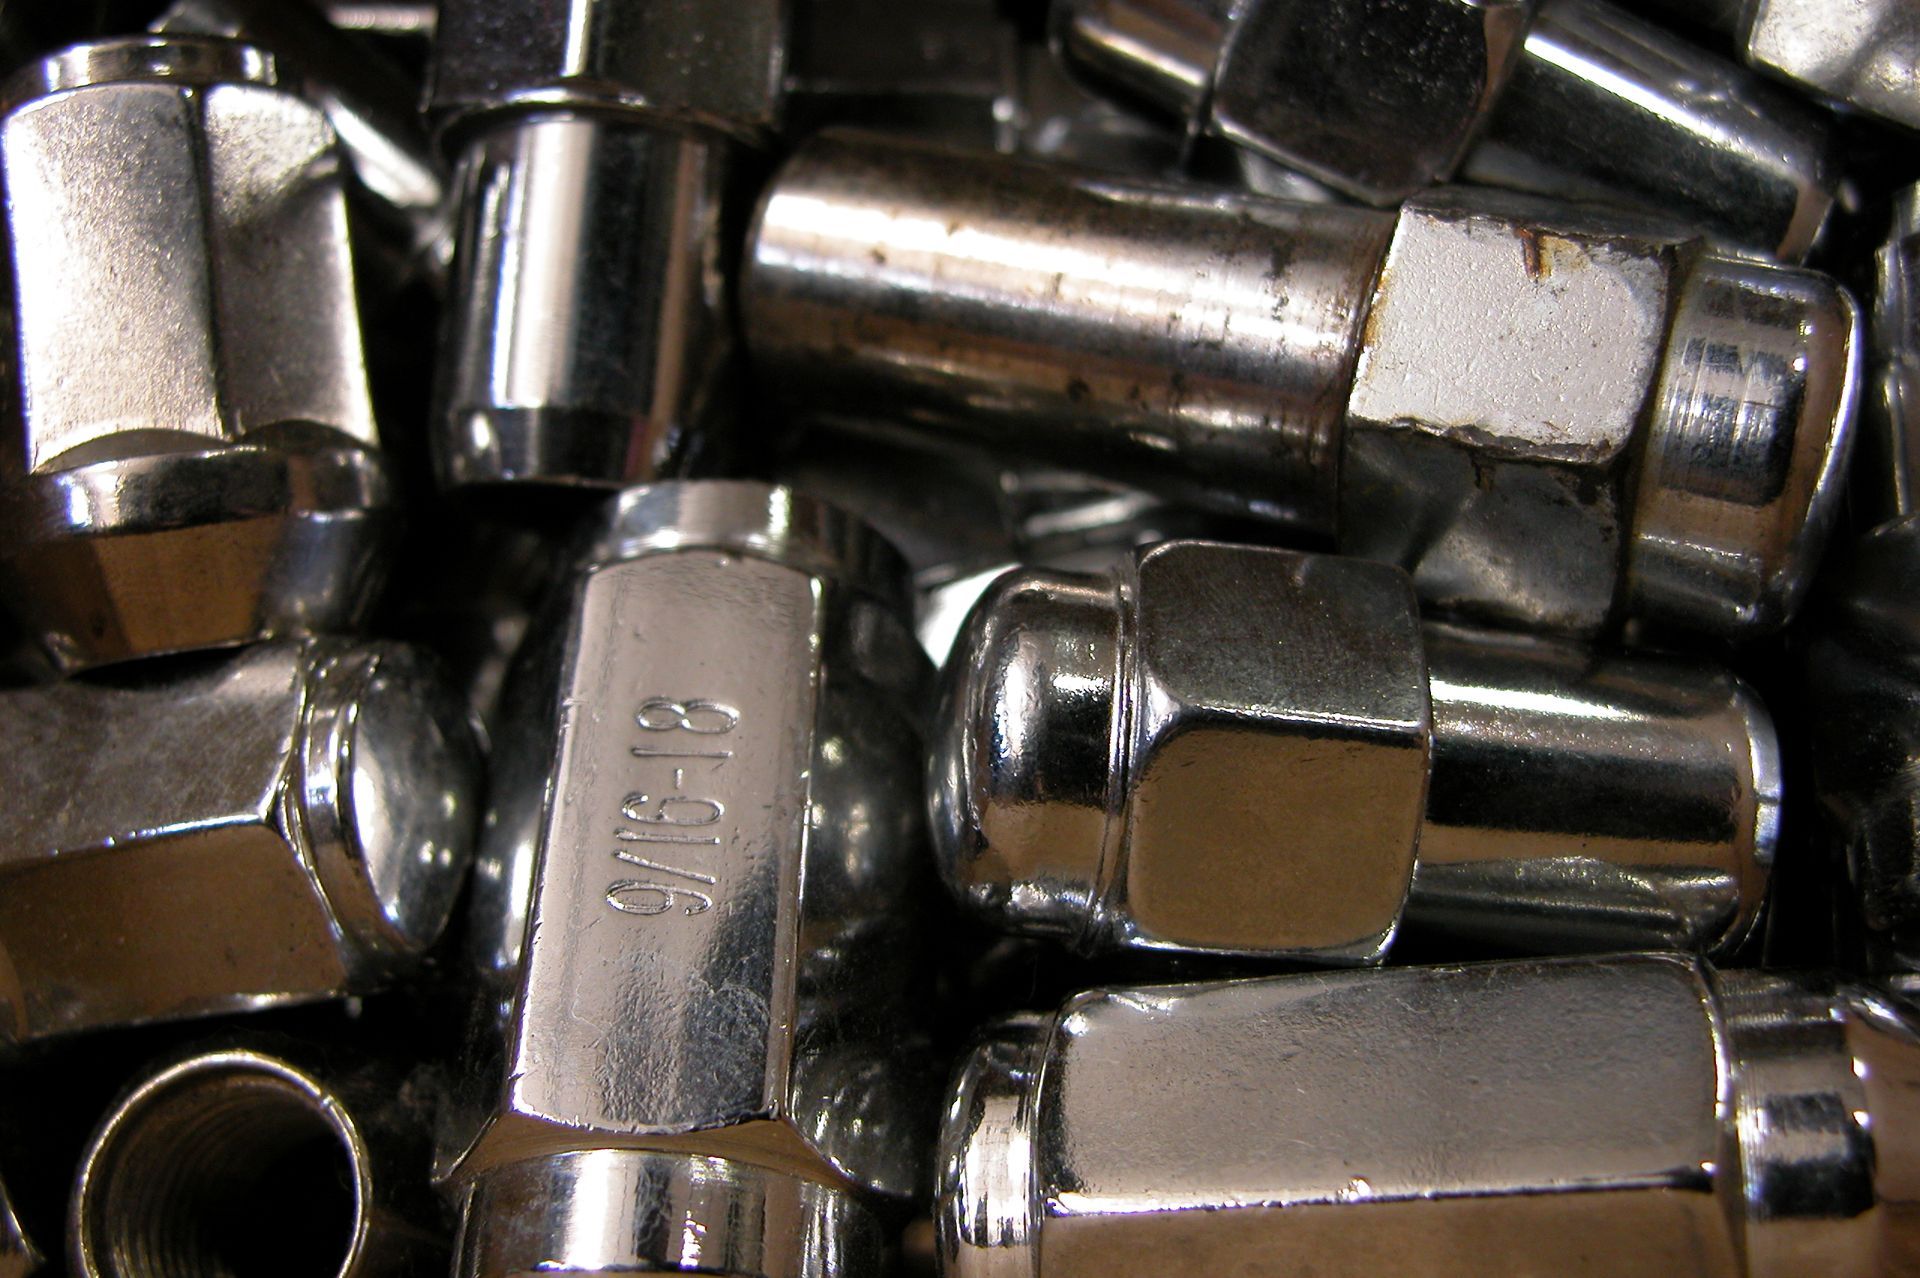
3. Loosen Lug Nuts

  • Use the lug wrench to turn the lug nuts counterclockwise. Loosen them while the tire is still on the ground but do not remove them completely.

4. Jack Up the Vehicle

  • Refer to your owner’s manual to locate the proper jacking point. Position the jack and lift the vehicle until the flat tire is off the ground.

5. Remove Lug Nuts

  • Fully unscrew and safely set aside the loosened lug nuts.

6. Take Off the Flat Tire

  • Pull the flat tire straight off the wheel hub and place it flat on the ground to avoid rolling.

7. Install the Spare Tire

  • Align the spare tire with the wheel hub. Push it snugly onto the hub.

8. Replace Lug Nuts

  • Hand-tighten the lug nuts onto the spare tire. Ensure they are snug but not yet fully tightened.

9. Lower the Vehicle

  • Carefully lower the car back to the ground using the jack.

10. Tighten Lug Nuts

  • Use the lug wrench to securely tighten the lug nuts in a star pattern to evenly distribute pressure.

11. Store Equipment

  • Place the flat tire, jack, and tools back into your vehicle to keep them safe and organized.

12. Check Spare Tire Pressure

  • Use a tire pressure gauge to ensure your spare tire is inflated to the manufacturer’s recommended PSI.


Important Notes About Spare Tires

Spare tires are designed for temporary use only. Manufacturers recommend replacing them with a full-size factory tire as soon as possible to maintain safety and performance.


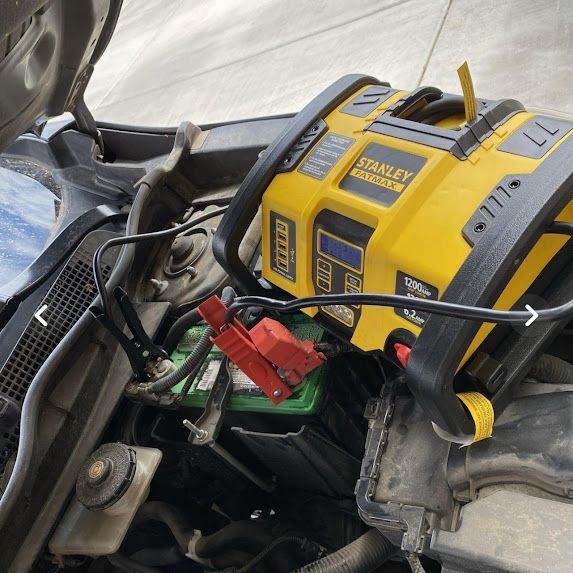
Need Assistance? Precision Roadside Service Is Here to Help!

If you’re uncomfortable changing a flat tire or don’t have the tools and equipment, Precision Roadside Service is just a call away. 


Call 480-256-8516 today for expert roadside assistance and let us handle the hard work for you. Stay safe and drive confidently with Precision Roadside Service!

This is a subtitle for your new post

The body content of your post goes here. To edit this text, click on it and delete this default text and start typing your own or paste your own from a different source.
February 3, 2025
Why Properly Torquing Lug Nuts to Specification Is Essential for Vehicle Safety and Performance
February 3, 2025
Top 5 Reasons to Choose Precision Roadside Service for Reliable Roadside Assistance
February 3, 2025
Learn how to safely jumpstart a car with this step-by-step guide. Includes all the tools you'll need, detailed instructions, and essential safety tips.
February 3, 2025
The Ultimate Guide to How Roadside Assistance Can Benefit You
February 3, 2025
Why Mobile Car Battery Registration Is Essential for Your Vehicle
February 3, 2025
Mobile Car Battery Replacement: Convenient, Fast, and Hassle-Free
December 18, 2024
Properly torquing lug nuts to specification is essential for several key reasons related to safety, performance, and longevity of your vehicle: 1. Safety Preventing wheel detachment: Incorrectly torqued lug nuts (either too loose or too tight) can cause the wheel to come loose while driving, leading to a serious accident. If the lug nuts are too loose, the wheel may detach entirely, while overly tight lug nuts can lead to uneven stress on the wheel assembly. Even pressure distribution: Torqueing to the manufacturer’s specifications ensures that the pressure on the wheel is evenly distributed. This helps maintain the structural integrity of the wheel, brake rotor, and hub assembly, minimizing the risk of failure during operation. 2. Proper Wheel Fitment Maintains even clamping force: The specified torque ensures that the clamping force is distributed evenly across all the lug nuts. If lug nuts are torqued unevenly, it can cause the wheel to warp or become misaligned, which can affect the handling, braking, and overall stability of the vehicle. Prevents warping: Too much torque can lead to deformation of the wheel, brake rotor, or hub, which can cause wobbling or other issues. Conversely, too little torque can lead to the nuts loosening over time, causing vibration and potential damage. 3. Avoiding Damage to Components Preventing lug nut or stud damage: Over-tightening the lug nuts can cause damage to the wheel studs or the threads on the lug nuts, leading to stripped threads, broken studs, or difficulty removing the nuts during future tire changes . This could result in costly repairs. Avoiding distortion of the brake rotor or hub: If the lug nuts are torqued improperly, it can cause distortion in the brake rotor or hub, leading to brake performance issues, vibration, and uneven tire wear. 4. Maintaining Warranty and Vehicle Integrity Warranty compliance: Many vehicle manufacturers specify torque settings as part of the warranty terms. Failure to follow these guidelines could void any warranty coverage on the vehicle, particularly for suspension and braking components. Enhanced lifespan of parts: Properly torqued lug nuts reduce stress on components, which can extend the life of your wheels, brake rotors, wheel bearings, and other associated parts. 5. Preventing Uneven Tire Wear Improves tire performance: When lug nuts are torqued correctly, the wheel is properly aligned, which helps in reducing uneven wear on the tires. Misalignment can lead to poor handling and premature tire wear, which can affect both safety and fuel efficiency. How to Properly Torque Lug Nuts: Use a torque wrench: A calibrated torque wrench should be used to apply the correct amount of torque to each lug nut. A typical lug nut torque specification ranges between 70 to 100 lb-ft (or 95 to 135 Nm), but it’s important to refer to your vehicle's owner manual for the exact value. Follow a star or crisscross pattern: To ensure even pressure distribution, always tighten the lug nuts in a crisscross or star pattern, gradually increasing the torque in multiple stages. By following the correct torque specifications, you ensure the safety, performance, and longevity of your vehicle and its components.
September 21, 2024
1. Rapid Response Time: Precision Roadside Service boasts a team of experts ready to assist you quickly, minimizing your downtime on the road. 2. Comprehensive Services: From tire changes and fuel delivery to battery jumpstarts , Battery Replacements and lockout assistance , they cover a wide range of roadside emergencies. 3. 24/7 Availability : Regardless of when you encounter a problem, their round-the-clock service ensures help is always just a call away. 4. Experienced Technicians: Their skilled professionals bring years of experience to handle various vehicle issues, ensuring safe and efficient service. 5. Affordable Pricing: Precision Roadside Service offers competitive rates without compromising quality, making it a cost-effective choice for drivers.
September 20, 2024
Here are step-by-step instructions for safely performing a jumpstart : 1. Gather Equipment: You'll need a working vehicle (the donor car), jumper cables , and possibly gloves and safety glasses. 2. Position the Vehicles: Park the donor vehicle close to the dead vehicle, ensuring both engines are off and that they are in neutral or park. 3. Prepare the Jumper Cables: Unwind the jumper cables and make sure they are not tangled. 4. Connect the Cables: - Attach one red cable clamp to the positive terminal (+) of the dead battery . - Connect the other red clamp to the positive terminal (+) of the donor battery. - Attach one black cable clamp to the negative terminal (−) of the donor battery. - Connect the other black clamp to an unpainted metal surface on the dead car for grounding (not to the negative terminal of the dead battery). 5. Start the Donor Vehicle: Turn on the engine of the donor vehicle and let it run for a few minutes to charge the dead battery. 6. Start the Dead Vehicle: Attempt to start the dead vehicle. If it doesn’t start, wait a few more minutes and try again. 7. Disconnect the Cables: Once the dead vehicle starts, carefully remove the cables in reverse order: - Black clamp from the grounded surface of the dead vehicle. - Black clamp from the donor vehicle. - Red clamp from the donor vehicle. - Red clamp from the dead vehicle. 8. Let the Vehicle Run: Keep the revived vehicle running for at least 15-30 minutes to allow the battery to recharge. 9. Check Battery Health: If the vehicle has difficulty starting again, consider getting the battery and charging system checked. Always take precautions, such as wearing gloves, avoiding contact between cable clamps, and making sure vehicles are not touching each other, to minimize risks.
September 19, 2024
Roadside assistance is a service that provides support for drivers in case of vehicle breakdowns, accidents, or other emergencies while on the road. It typically includes services such as flat tire changes , jump-starting dead batteries , fuel delivery , lockout assistance , and minor roadside repairs. This service can help alleviate stress and ensure safety by offering quick and reliable aid, allowing drivers to get back on the road with minimal disruption to their journey. Additionally, it can be particularly beneficial in unfamiliar areas or during adverse weather conditions when help is urgently needed. Here are the steps to finding and setting up a service call with a local provider 1. Identify the Need: Determine the type of assistance required, such as towing, tire change , or lockout service . 2. Find a Local Service Provider : Research local roadside assistance companies or tow services, checking customer reviews and ratings. 3. Gather Information: Have relevant details ready, including your vehicle make, model, and location, as well as the nature of the problem. 4. Contact the Service Provider : Call or use an online platform to request service, providing the necessary information clearly. 5. Confirm Service Details: Ensure you understand the estimated arrival time, potential costs, and payment methods before the service provider arrives. 6. Stay Safe: While waiting, stay in a safe location, and keep your phone charged to maintain communication. 7. Follow Up: Once help arrives, provide any additional information they may need and, after the service is complete, consider leaving feedback for future reference. Precision Roadside Service offers 24/7 assistance with a comprehensive range of services to meet your roadside needs. If we're unable to provide a specific service, we have established partnerships with various local companies to ensure that your requirements are addressed promptly and affordably. For any questions or concerns, feel free to visit our website or call us at 480-256-8516 . We're here to help!
More Posts
Share by: