
Roadside Assistance Tips & Updates | Phoenix Valley (Mesa, Chandler, Gilbert, Tempe, Scottsdale)
Explore helpful roadside tips and safety updates tailored for drivers throughout the Phoenix Valley—from Mesa, Tempe, Chandler, to Gilbert and Scottsdale. Stay informed and stay safe on the road.
How to Safely Charge a Completely Dead EV

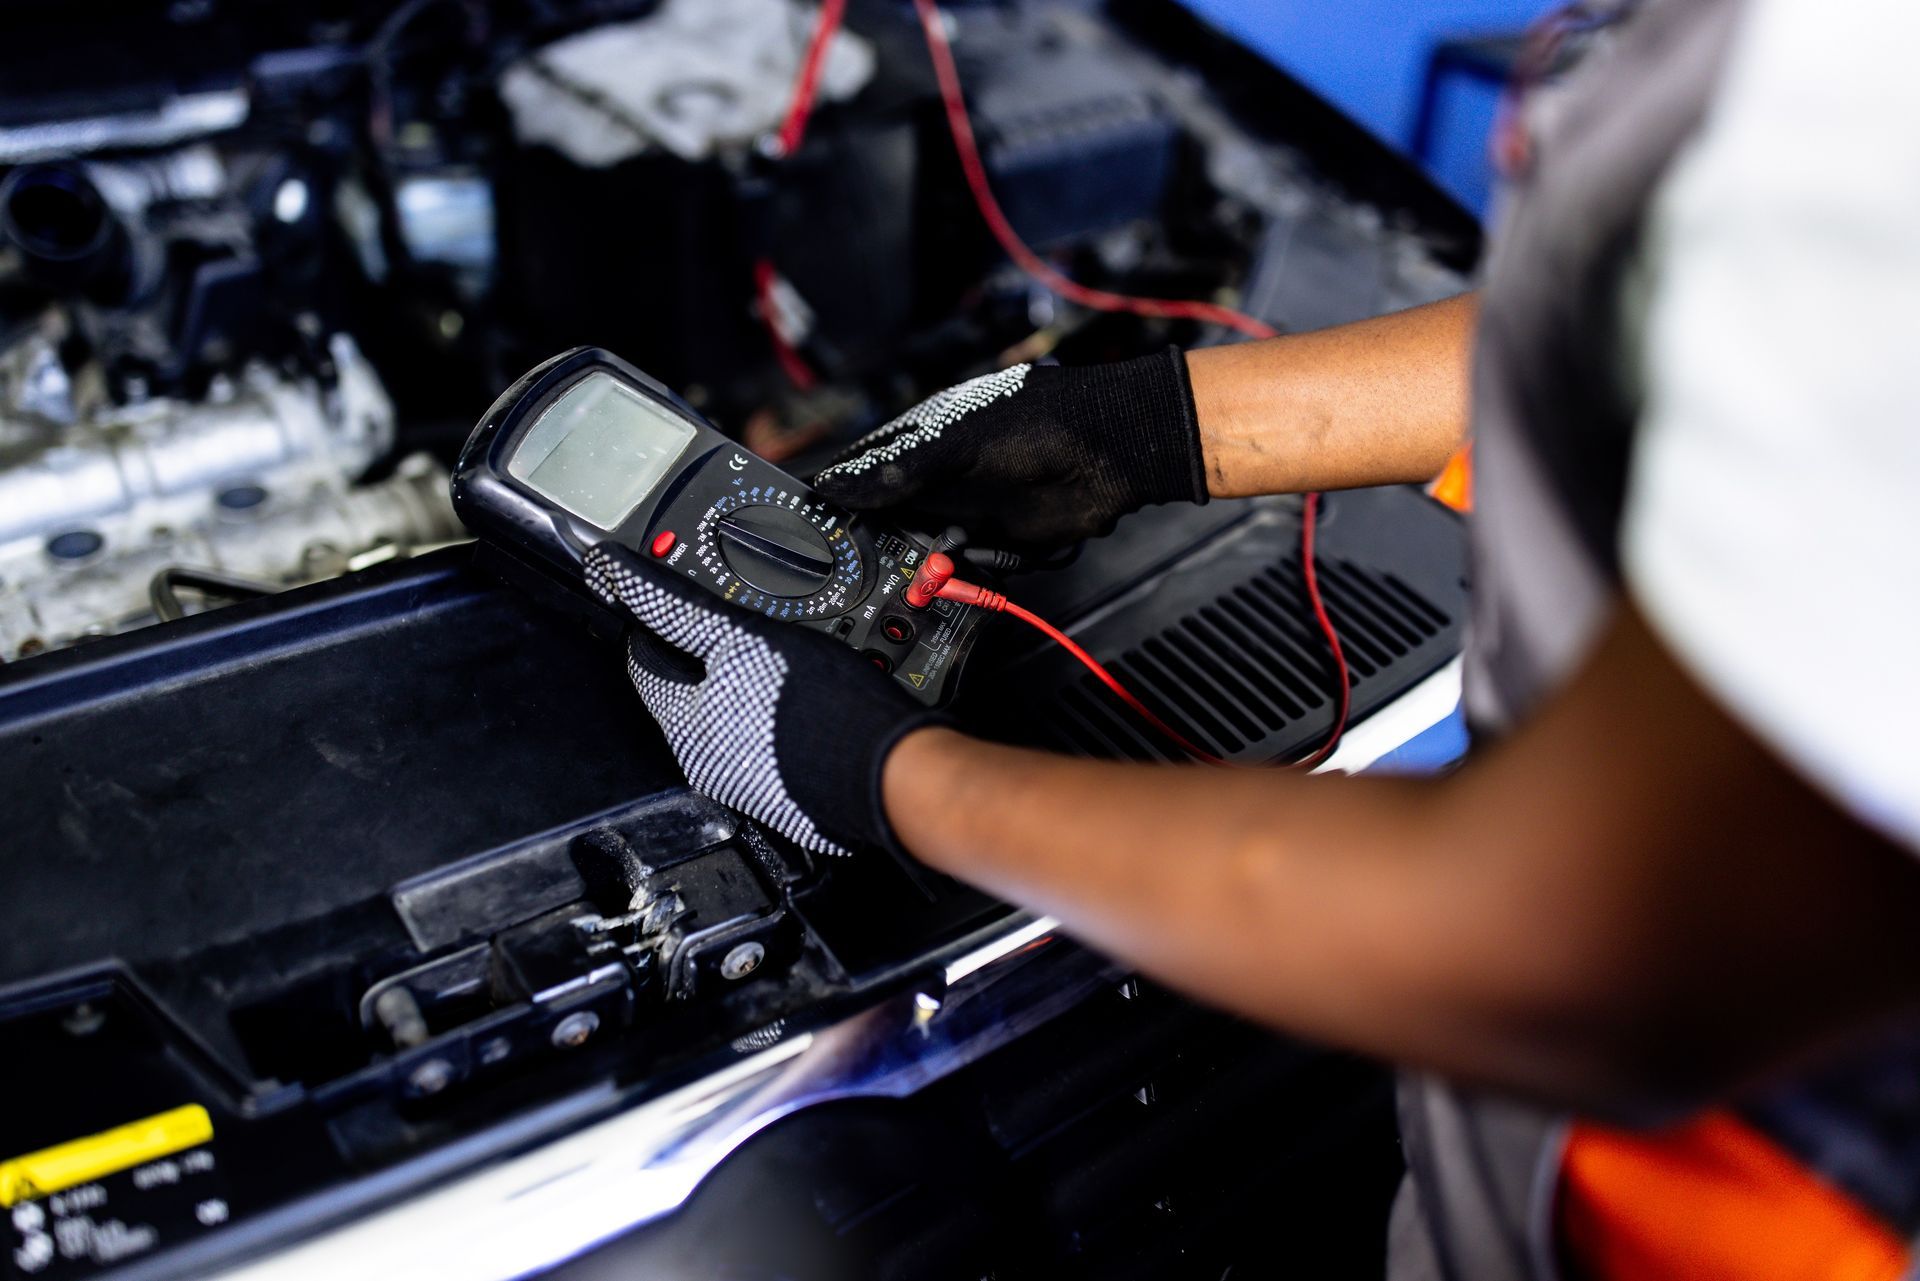
Why You Might Want to Avoid Auto Start-Stop and How It Affects Your Car Battery
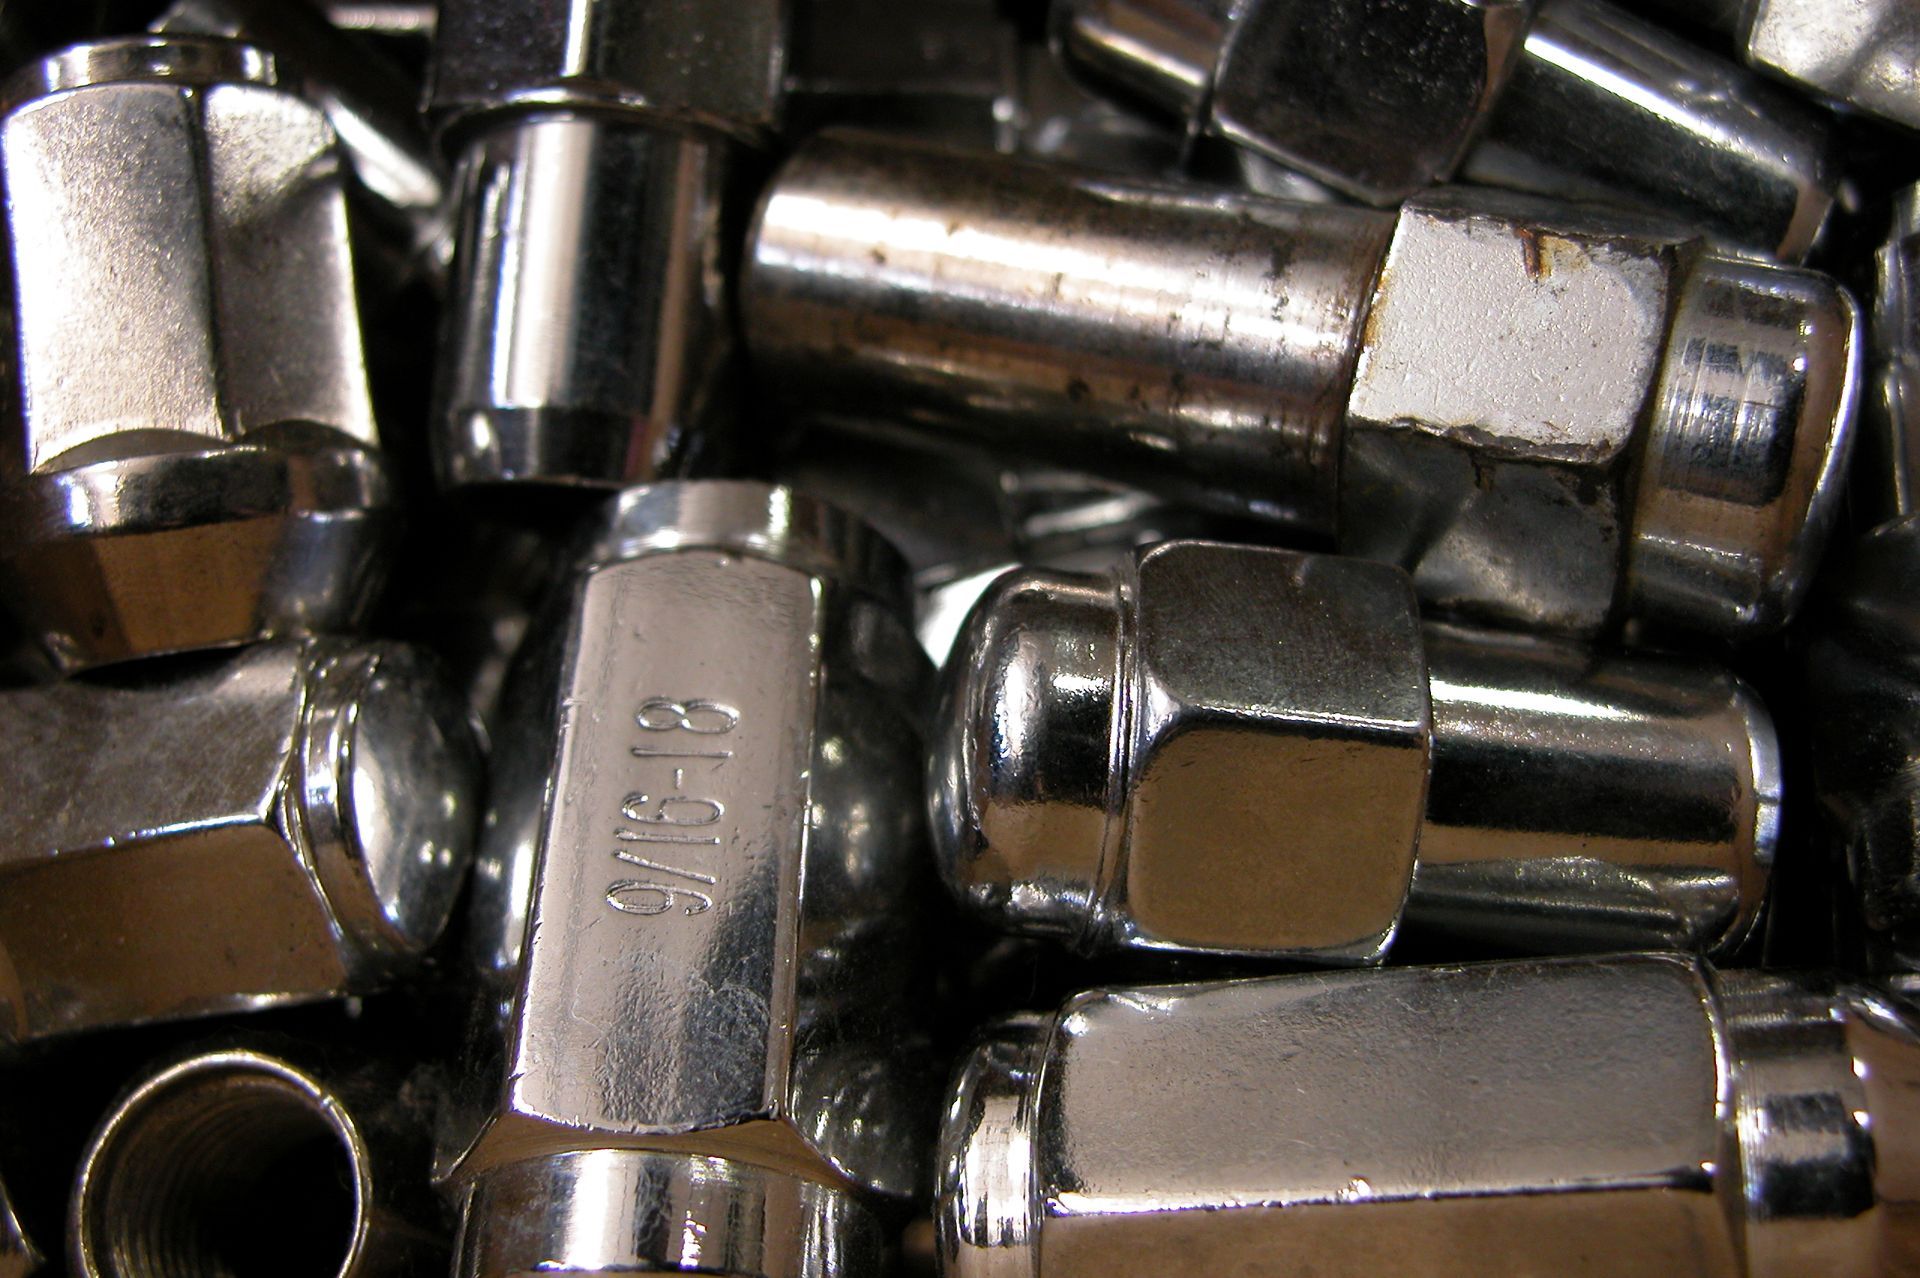
Why Properly Torquing Lug Nuts to Specification Is Essential for Vehicle Safety and Performance

Top 5 Reasons to Choose Precision Roadside Service for Reliable Roadside Assistance
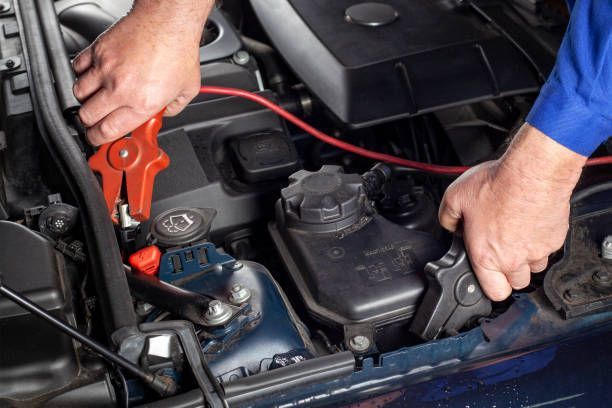
Learn how to safely jumpstart a car with this step-by-step guide. Includes all the tools you'll need, detailed instructions, and essential safety tips.

The Ultimate Guide to How Roadside Assistance Can Benefit You
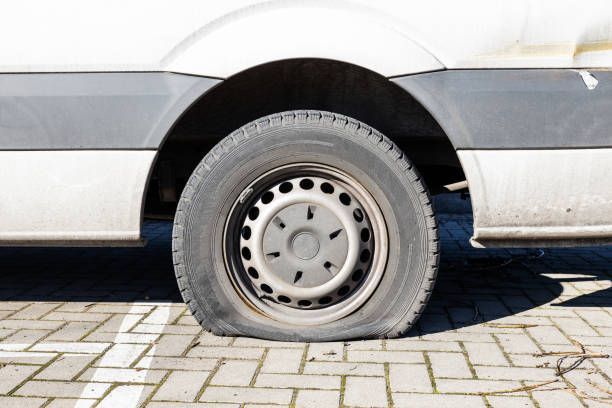
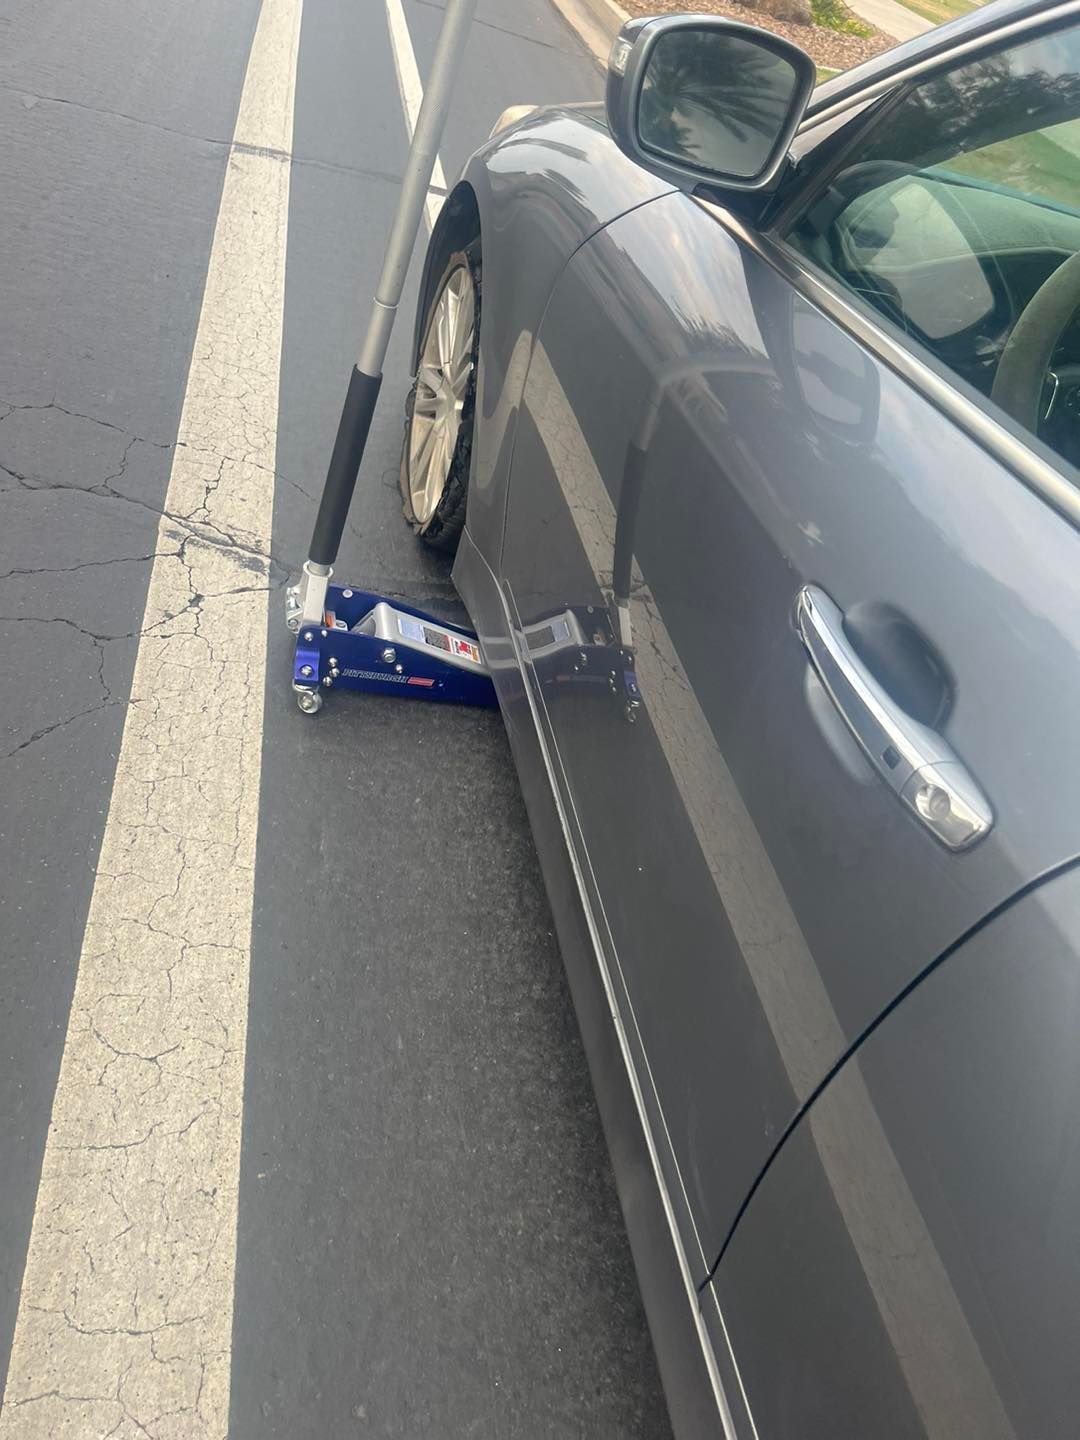
Step-by-Step Guide: How to Safely Replace a Flat Tire
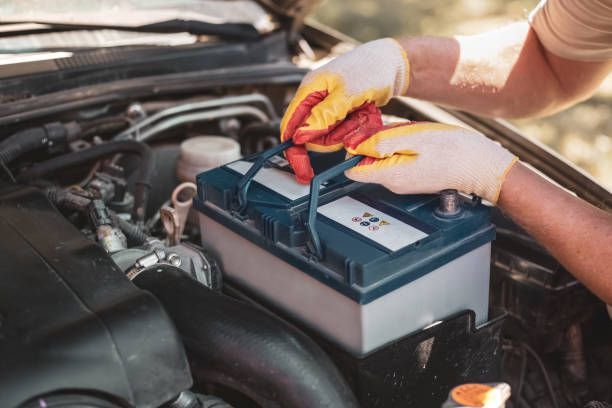
Why Mobile Car Battery Registration Is Essential for Your Vehicle
Mobile Car Battery Replacement: Convenient, Fast, and Hassle-Free
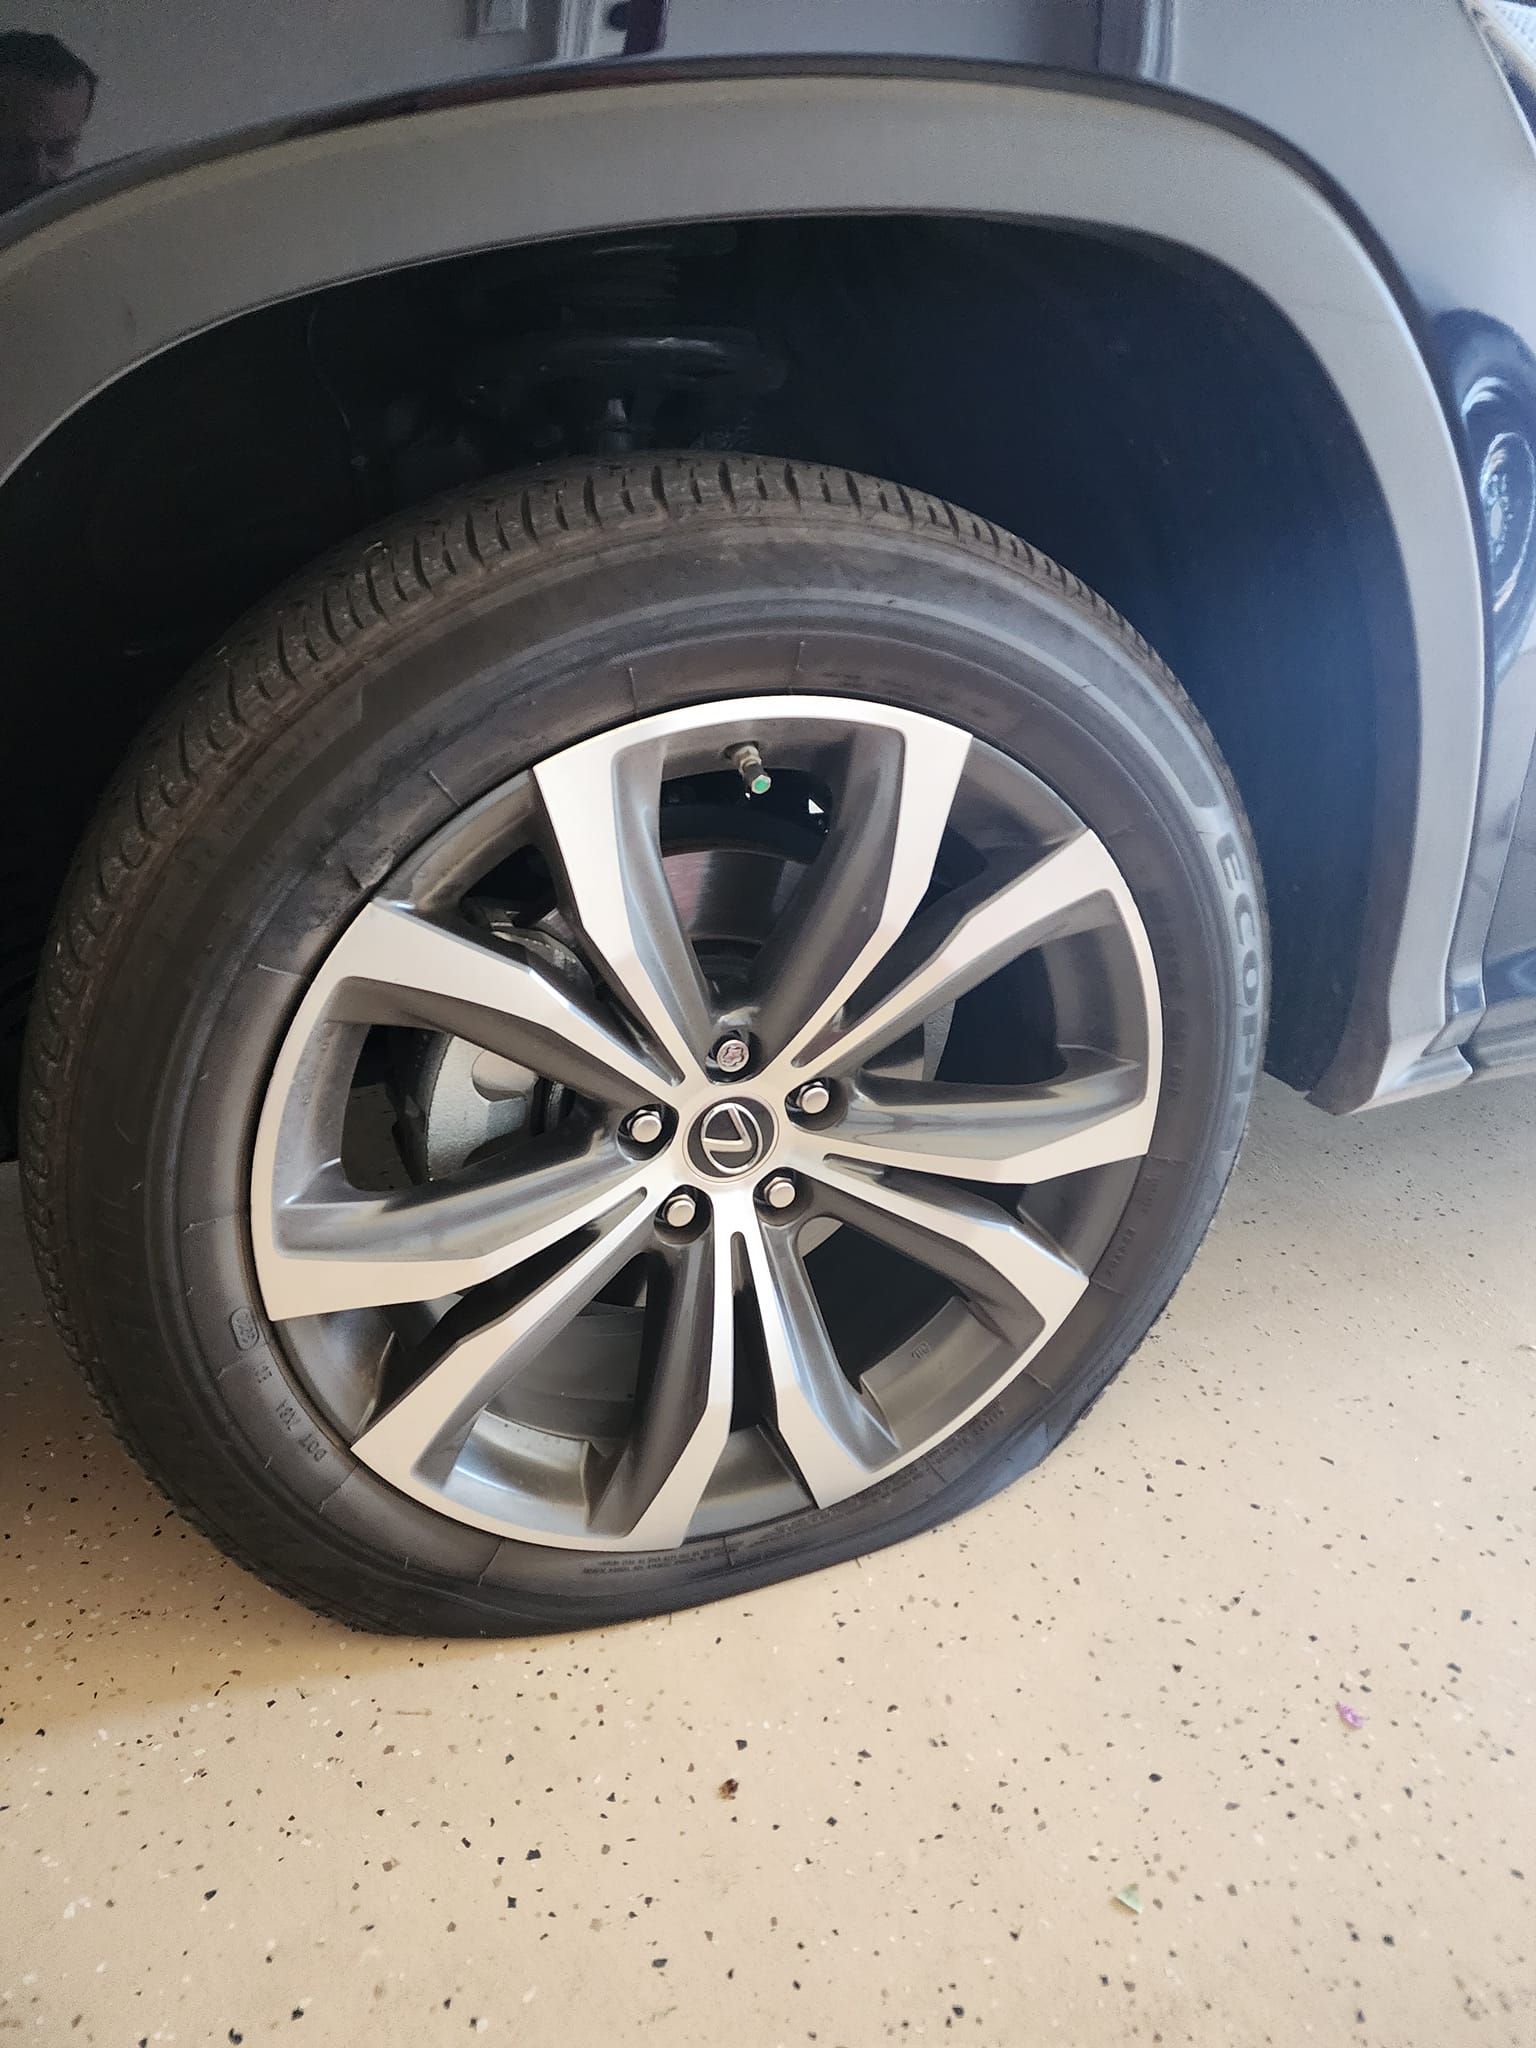
Why Properly Torquing Lug Nuts Matters for Safety and Performance When it comes to vehicle maintenance, few people think about the importance of properly torquing lug nuts. But this simple step plays a critical role in your car’s safety, performance, and longevity. At Precision Roadside Service in Phoenix, AZ, we often see issues caused by wheels that weren’t tightened to the manufacturer’s specifications. Why Lug Nut Torque Matters 1. Safety on the Road Prevents wheel detachment: Loose lug nuts can cause your wheel to fall off while driving, while over-tightened nuts put stress on the wheel assembly. Even pressure distribution: Following the proper torque spec ensures the wheel, brake rotor, and hub are evenly secured. 2. Wheel Alignment & Fitment Even clamping force: Torque keeps all lug nuts evenly tightened, preventing wobbling or misalignment. Avoids warping: Too much torque can warp the rotor or wheel; too little can lead to vibrations. 3. Protecting Your Vehicle’s Parts Prevents stripped studs & threads caused by over-tightening. Protects brake rotors & hubs from distortion that leads to uneven tire wear. 4. Preserving Warranty & Vehicle Integrity Manufacturers often require correct torque to maintain warranty coverage. Proper torque extends the life of wheels, bearings, and suspension parts. 5. Tire Performance & Fuel Efficiency A properly torqued wheel maintains alignment, reducing uneven tire wear. Correct torque helps improve handling, safety, and fuel economy. How to Properly Torque Lug Nuts Use a torque wrench: Most vehicles require 70–100 lb-ft (95–135 Nm), but always check your owner’s manual. Tighten in a star pattern: Gradually torque each nut in stages for even pressure distribution. Final Thoughts Taking the time to torque your lug nuts properly isn’t just about following the manual—it’s about protecting your vehicle and everyone riding in it. Whether you’re changing a flat on the side of the road in Tempe, Mesa, Chandler, or Phoenix, or having new tires installed, always make sure lug nuts are tightened to spec. If you ever need help with a tire change, mobile EV charging, or emergency roadside assistance in Phoenix, AZ, the team at Precision Roadside Service is available 24/7. 👉 Learn more about our roadside tire services


